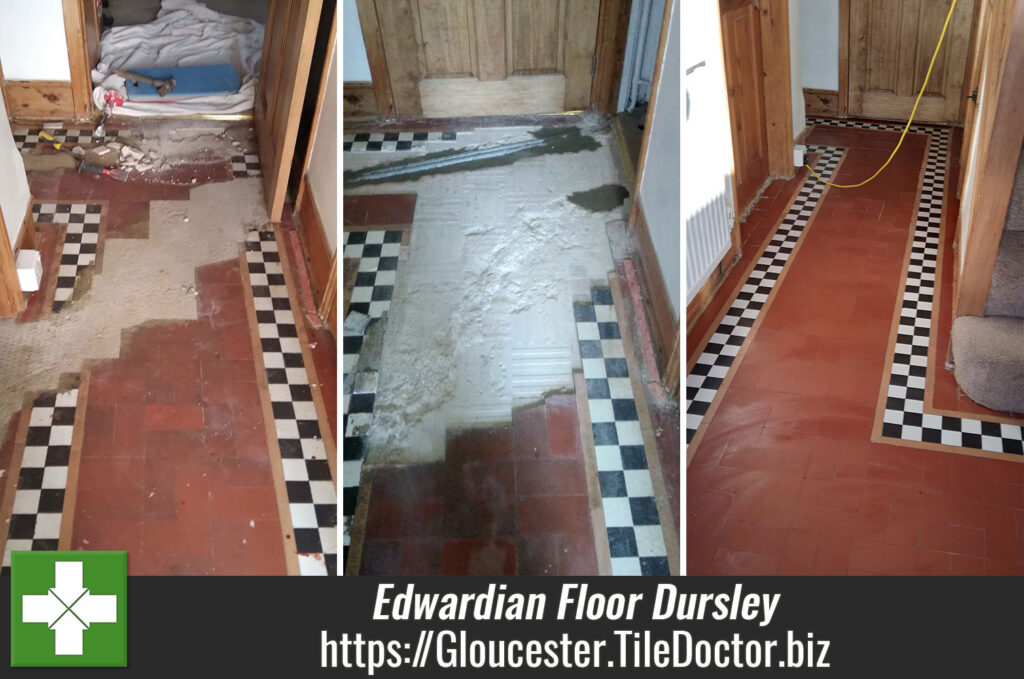
Maintaining a Terracotta Tiled Kitchen Floor in Dursley
A homeowner in my local town of Dursley got in touch about their Terracotta tiled kitchen floor. The tiles had become dull and lost had lost their appeal, unhappy with the way it looked they booked me into to pop round and take a look.
Being so local it wasn’t long before I was able to pay them a visit and survey the floor. Whilst there I conducted a cleaning test to work out which products would work the best and they were surprised about how well it came up.

I diagnosed that the sealer on the Terracotta had been worn away and was not allowing dirt to become ingrained in the tile. I worked out a quote for deep cleaning the tile and then re-sealing it, which they were happy with and I was booked into to do the whole floor.
Deep Cleaning a Terracotta Tiled Kitchen Floor
Prior to my arrival I had worked out which products I would need to renovate the floor and they ordered these directly from Tile Doctor so everything would be ready for work to start.
A lot of water is used during the cleaning process so before starting work protective tape was applied to all the kitchen units and adjacent carpets covered with dust sheets. Then to get the tiles clean a strong dilution of Tile Doctor Pro-Clean was applied to the tiles and left to soak in for fifteen minutes, this gives it time to break down the soils. The floor was then scrubbed with a Black pad fitted to a rotary machine, to lift the dirt out of the tiles. The grout lines were also cleaned using more Pro-Clean and a stiff brush.
The soils were then rinsed off with more water and extracted with a wet vacuum twice but I moved onto giving the floor an acid rinse. This is done with a dilution of Tile Doctor Grout Clean-Up which is brushed into the floor and then extracted. This is a further step to clean the floor but it also neutralises the floor after the use of Pro-Clean which is a strong alkaline cleaner.
After another rinse the floor was dried as much as possible using the wet vacuum and then dried with air blowers prior to covering with dust sheets. The floor needed time to dry out so this will keep the floor clean before I return to apply the sealer.

Sealing a Terracotta Tiled Kitchen Floor
A lot of water was used during the cleaning process and Terracotta is notoriously porous so I left the floor to dry out for three days before returning. The dust sheets were removed and the floor given a sweep before starting on the application of the sealer.
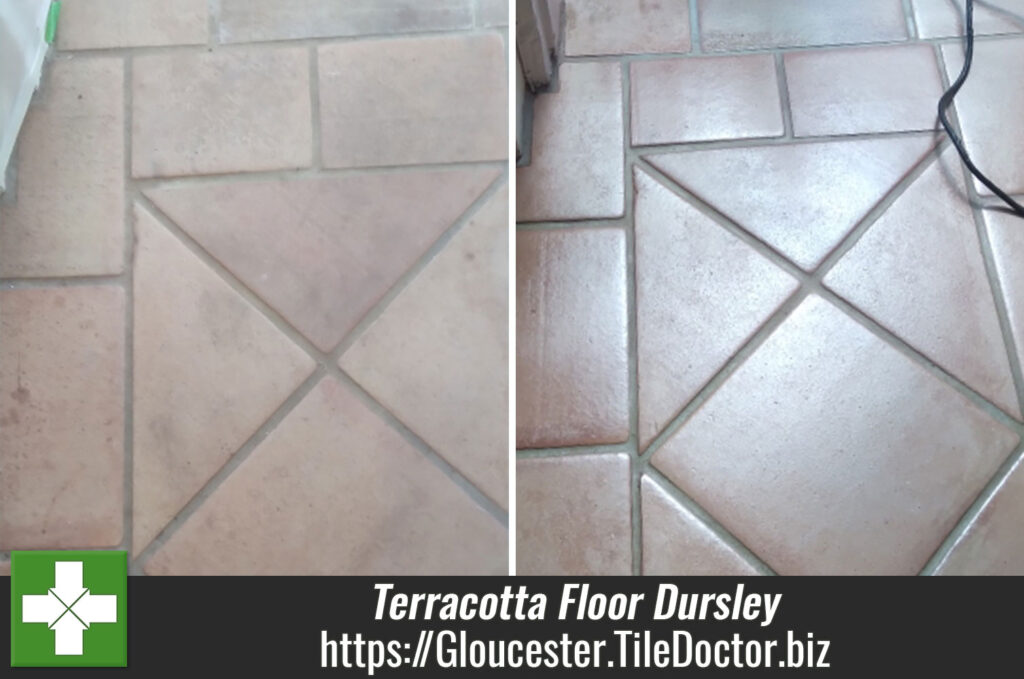
Having discussed choice of sealer with the customer earlier we chosen Tile Doctor Seal and Go Extra to seal the floor with, it works really well on Terracotta and adds a nice subtle sheen to the tile. As mentioned, Terracotta is very porous so it took the application of seven coats before I was satisfied the tiles were fully sealed.

My customer was delighted with the result and commented it looked like a new floor. I certainly thought so; however, my pictures were not the best this time round and don’t really do the floor justice.
For aftercare I recommended they should use Tile Doctor Neutral Tile Cleaner which is a mild but effective cleaner that’s sealer safe and designed for cleaning sealed tile and stone.
Professional Renovation of a Terracotta Tiled Kitchen in Gloucestershire
Maintaining a Terracotta Tiled Kitchen Floor in Dursley Read More »